

.svg)
.svg)
.svg)
Introduction
Setting up your domain to work with Microsoft services, specifically Outlook 365, requires configuring several DNS records through your Namecheap account.
This guide presents a straightforward, step-by-step approach to help you seamlessly integrate your domain with Outlook 365.
Step 1 Verifying Your Domain with a TXT Record
Why do you need to Verify?
Think of this like showing your ID card to prove it's really you. By adding a TXT record, you're proving to Microsoft that you actually own the domain you're claiming.
It's like saying, "Yes, this is my website domain, and I can prove it because I can make changes to it."
How to Verify your Domain with a TXT Record
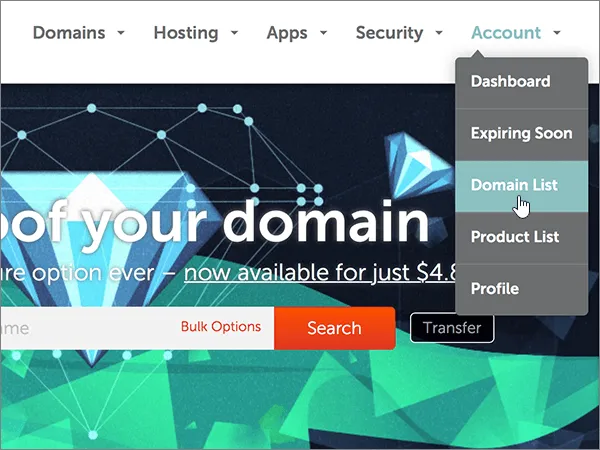
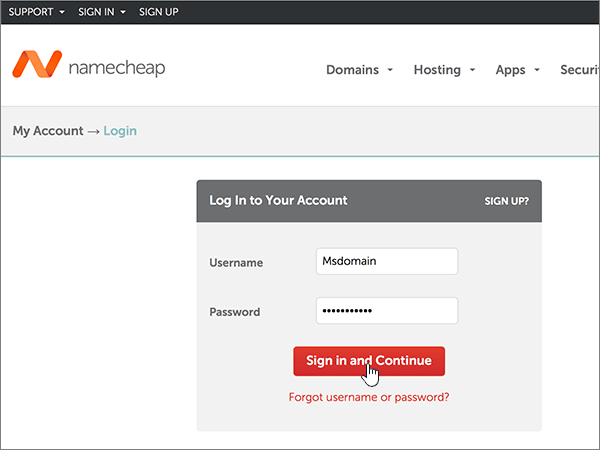
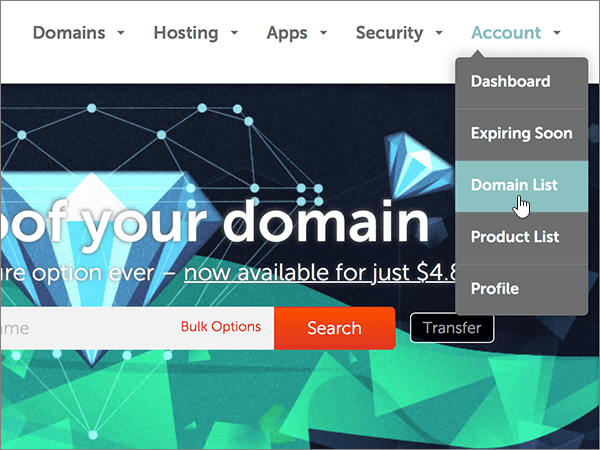
1. Sign in to Namecheap and navigate to the Domain List under your account.

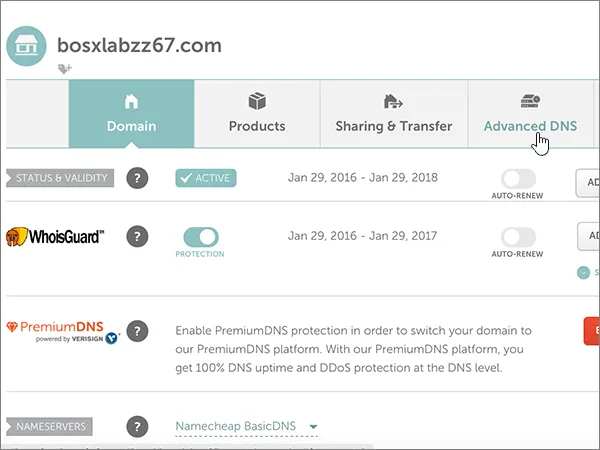
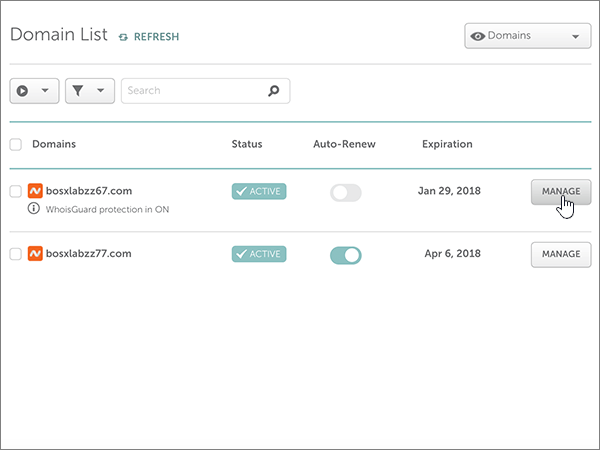
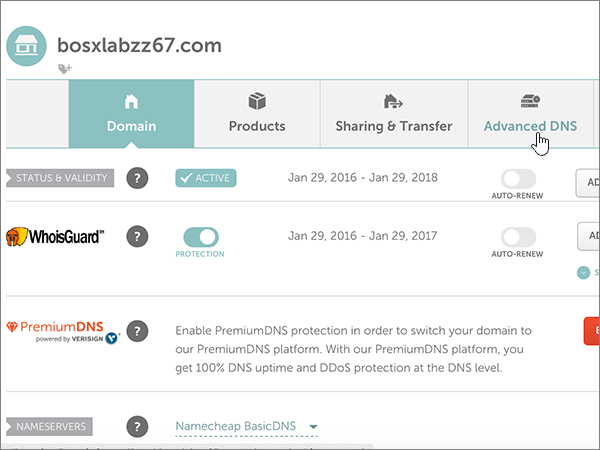
2. Choose the domain you're setting up and go to the Advanced DNS section.

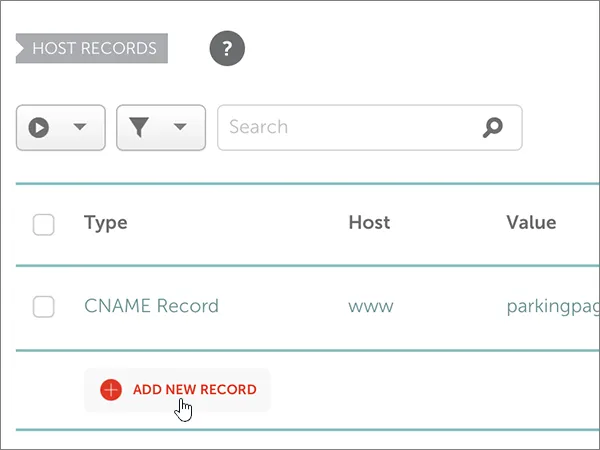
3. Click on 'Add New Record' in the HOST RECORDS section and select 'TXT Record' from the dropdown.
4. Enter the details as follows: Type: TXT, Host: @, Value: MS=msXXXXXXXX (Replace XXXXXXXX with your specific value), TTL: 30 min.

Save the changes and wait for a few minutes for the update to propagate.
Step 2: Route Your Email to Microsoft with an MX Record
Why do you need to Add MX Record?
This step is like telling the postal service to deliver all your mail (emails, in this case) to a new address (Microsoft's email servers). The MX record ensures that any emails sent to your domain go straight to Microsoft's Outlook 365.
How do you Add MX Record for Outlook365 on Namecheap
To configure MX records for Outlook 365 in Namecheap:
Access your Namecheap account:
- Sign into Namecheap.
- Access your Namecheap account.
Choose the domain for configuration:
- From the drop-down menu, select Domain List.
- Choose the relevant domain.
Navigate to Advanced DNS settings:
- Click on Manage.
- Head to Advanced DNS.
Remove any current MX records:
- Click on Delete.
- Remove existing MX Records.
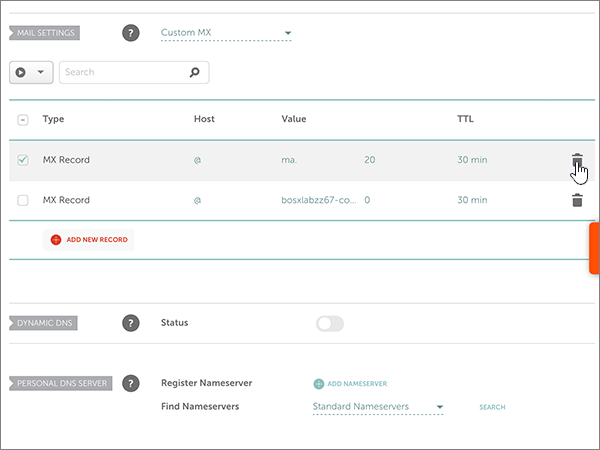
Proceed to Email Settings and opt for Custom MX:
- Choose Custom MX.

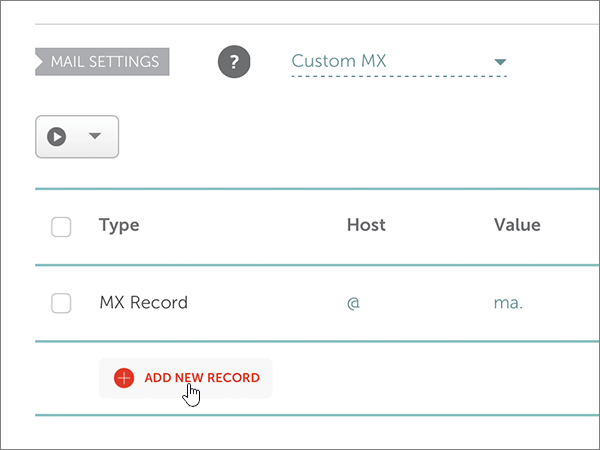
Insert a new MX record with these details:
- Record Type: MX Records
- Host: @
- Value: <domain-key>.mail.protection.outlook.com. (Ensure it ends with a period)
Note: Retrieve your <domain-key> from your Microsoft account. How do I find this?
- Priority: 0
- Click on ADD NEW RECORD.
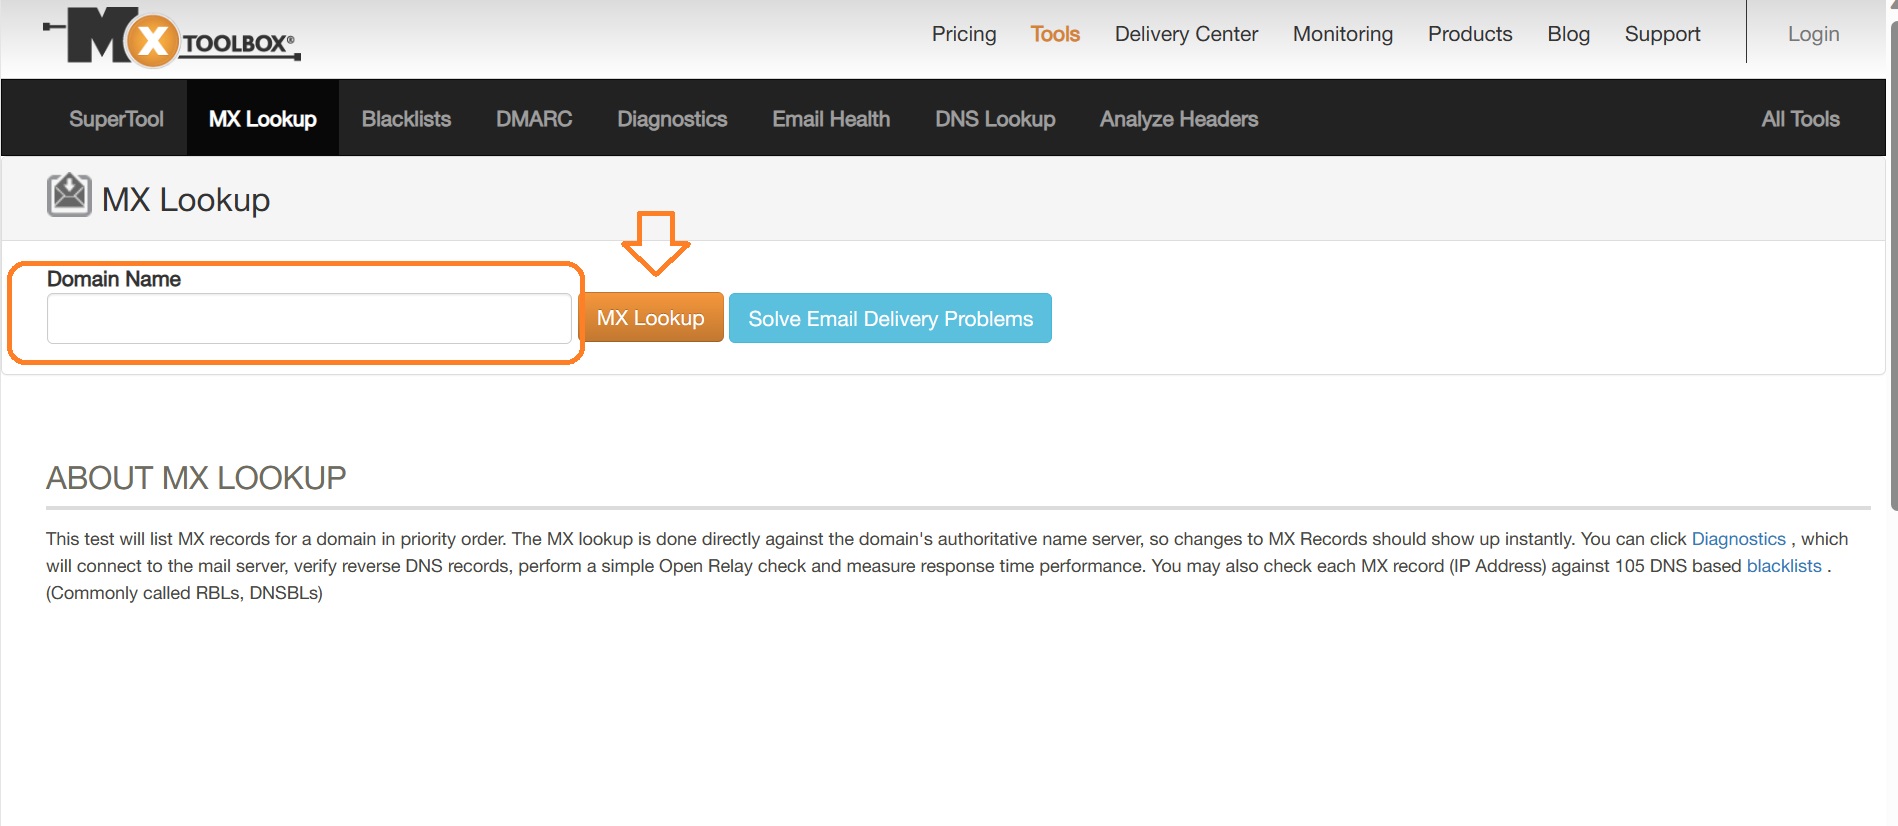
Confirm the changes:
- Use an MX Lookup tool like "mxtoolbox" to check the setup.
- Go to MX Lookup Tool - Check your DNS MX Records online - MxToolbox


.webp)
